Showing posts with label Sailor Moon. Show all posts

Friday, 22 April 2016

Hello again!

Things got away on me there.  I've since finished both Sailor V and Princess Venus since the last post, and I have started on Sailor Venus!

So here is what I have been up too!

I finished the compact for Sailor V:
Outside


Inside.
The good weather arrived, and after some trial and error with paint jobs, I got the shoulder wings for Sailor V done. I tried doing an acrylic wash with silver paint, but it was streaky and I hated it. I tried my peweter spray paint, but it was WAY to dark.  So eventually I found some silver spray paint (with a  hint of glitter) and this is the result.

Indoor, with natural light
Indoor, in shadow.
 And here is the finished Princess Venus dress!

I had just enough wind that day to help show it off.


Saturday, 5 March 2016

Craft day!

Now that all the sewing is done, I am making a different kind of mess!  A crafty mess.  I've been working on the broach for Sailor V/ Sailor Venus, the shoulder wing armor for Sailor V and V's Crescent Compact.


The broach is currently gluing.  I tried just attaching the worbla to the back of it, but that just popped apart. Which makes sense, but I was not entirely awake yet when I started that, so didn't think about it at the time.  The back which has the pin attachment (not pictured) is still worbla, but is being glued to the Gemstone (paperweight) with weld-bond glue.  It seems to be working, but needs pressure to fully work right (hense the clamps).


I cut out and shaped the sleeve wing/armor things today. They are also made from worbla, cause I had some lying around still. Molding worbla onto the body is (go figure) 10times harder when it is just you doing it, so sadly I have more air bubbles then I would have liked. I am hoping I can hide those with the gesso layers though.


 The Crescent compact is coming along well! I'm pretty proud of it so far.  the top is 2 layers of Craft foam glued together, with the crescent that goes around the red gem molded in, and the bottom is 3 layers of foam. I wanted it to have a bit of depth to it and not just be 2 flat single layers of craft foam on both sides, covered in Worbla.
The compact will click closed with magnets when done, be spray painted gold and have gems on top.  The hardest part with this prop was trying to figure out how to hinge it so I could open and close it.  Logically, one would think the hinge would be on the rounded edge, but logic has forsaken this compact and the hinges as you can see are on the points of the crescent.


So, after a lot of thinking and asking for advice, suggestions included drilling a hole and attaching them with a wire loop, which would work, but would probably not stand up on its own, adding in springs, more magnets or a hinge.  I went with a hinge.  I looped some very small worbla noodles tightly over some cut off q-tips, this gave me a nice tight, rounded fit like the plastic hinges on many toys.  I allowed it to cool down till it was cold/hard again before gently turning the q-tip to get it out again. This left me with perfect little loop hinges that work great! I just need to cut down the last bit of my q-tip and add some sort of stopper (probably a bead of worbla or plastic) so the hinge dosn't come out.


The effect is pretty good so far, though I may switch out the Q-tips I have for something else, as mine appear to be compressed paper and that does not bode well in case of rain or accidental wetting.


 Now begins the boring (and messy) stage of layer upon layer of gesso, then sanding, then a couple more layers of gesso, then more sanding etc etc till I have a smooth surface to paint.


Sailor V is almost done!

The shirt and skirt are done.  Today I am working on the broach, Shoulder armor and her compact prop.


I'll be making this baby out of craft foam and worbla.


Friday, 19 February 2016

Easy-peasy Sailor Collar stripes.

Sailor collars, they all have stripes and there are so many ways to attach them.
You can sew them down by hand or by machine.   I sewed the Soutache braid stripes on this collar by machine. If it is wobbly it is because this is one of my first cosplays from 2005.
The stripes on my  Escaflowne movie Hitomi cosplay (one of my first!) sewn down by machine.

You can glue them down, which works great with vinyl! just make sure to clean up your edges and don't use too much, (I used too much here because this was maybe my second or third ever cosplay!)  Glue
can be messy and sometimes hard to get off, plus over time the glue may dry over time and start to peel away, but if that happens, just re-glue it.
The details on my PGSM Dark Merucry collar, done with glue. (Probably my 3rd cosplay ever)
Over time I found that best product to attach the trim is Steam-a-Seam or Heat-n-Bond.  I prefer Steam a Seam, but both would work. Both can be found at fabric stores or online. Heatn' Bond is sold by the meter and Steam-a-Seam is by the meter, in sheets and in rolls.  I used to cut the strips to size for my ribbon details from the sheets or from a meter, but I found thought I'd try this beauty this time:

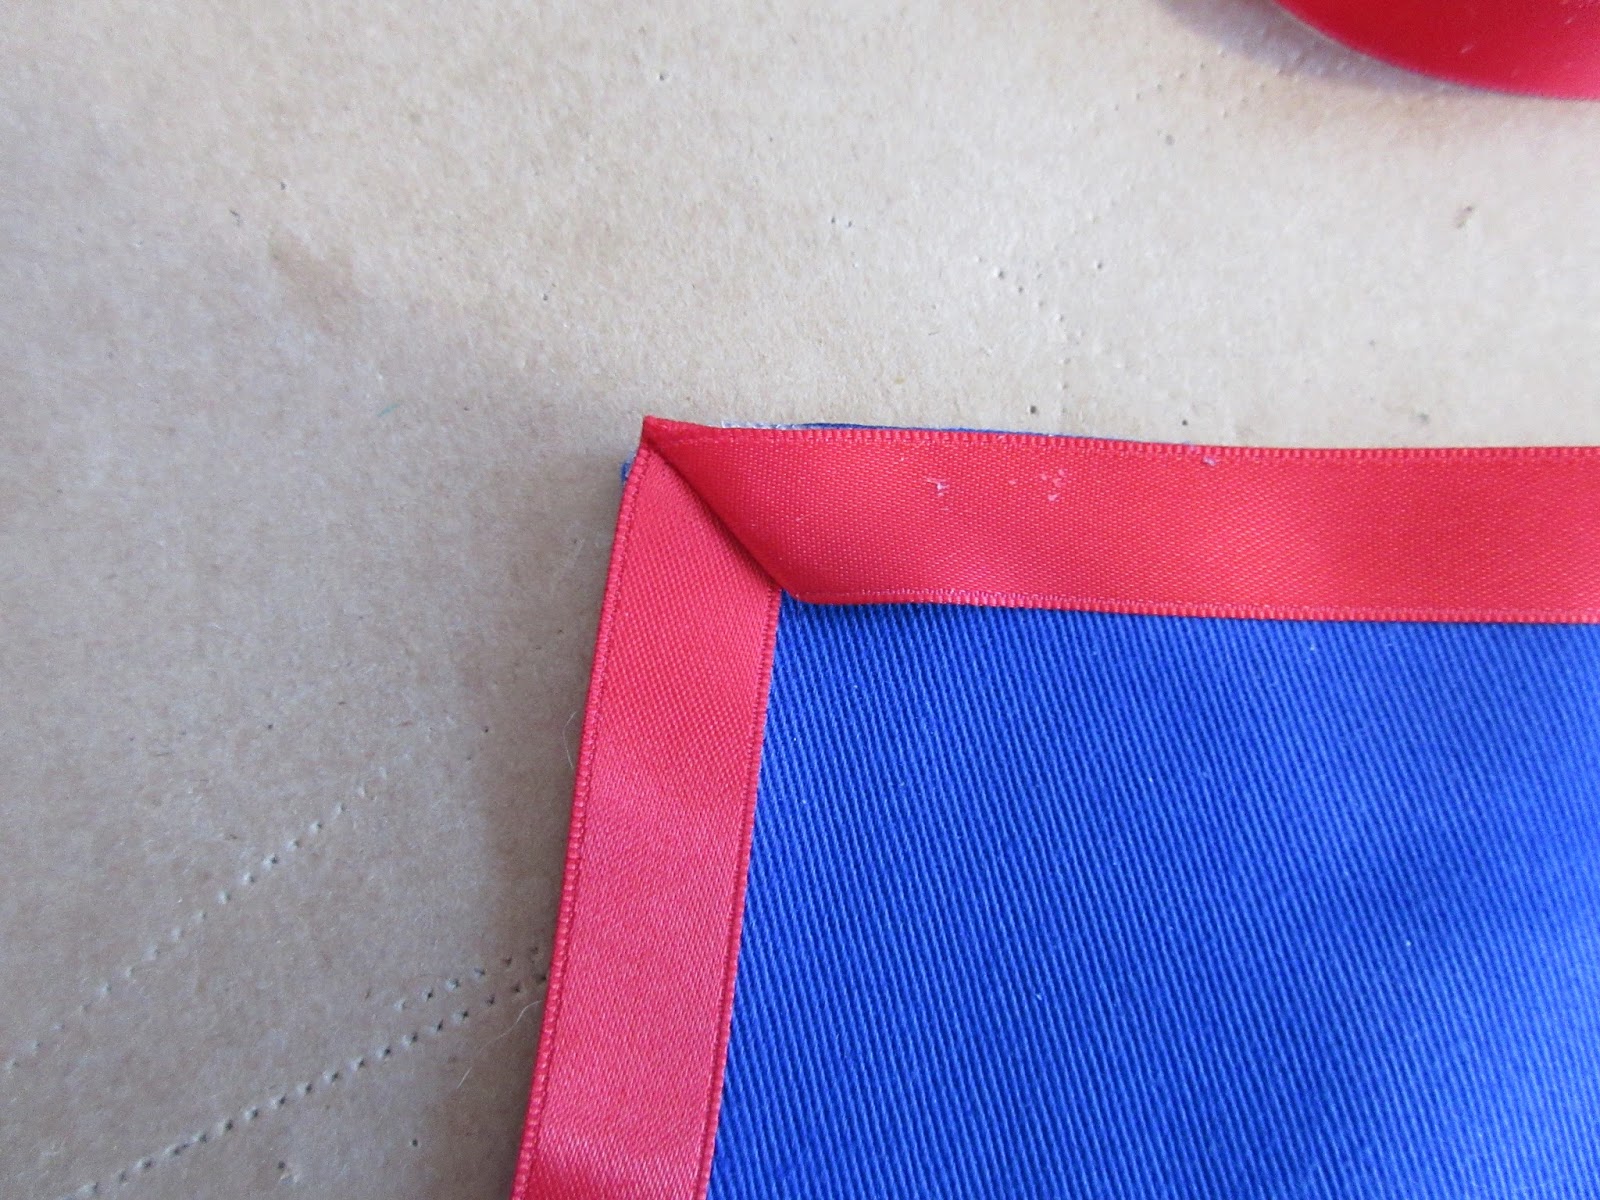
It's already pre-cut into strips and comes on a roll like tape! My life just got easier!  I just used it to put down the red stripe on my Sailor V costume. My ribbon was wide enough that I had to run two strips of the steam-a-seam side by side. I did each edge separately and cut the steam-a-seam off at the corners, but I did not cut my ribbon! That stayed in one big strip off my spool until I had done all 3 edges. The last thing I wanted was to accidentally cut it too short.

The steam-a-seam is sticky like a post-it-note, so until you iron it down it can be moved around, but it also means the ribbon sometimes comes un-tacked, so I did it one edge at a time. When I got to the corner, I did a mitered corner. Which is a fancy way of saying that I sewed it on an angle so I'd have a pretty corner.

This is what that mitered edge looks like when it is done. I then proceeded to run the ribbon along the bottom edge till I got to the next corner and mitered the other corner.  Once everything was tacked down I cut the ribbon off the spool.


Finally I ironed my ribbon down, and here is the finished product!


Monday, 8 February 2016

Sailor V top mock up!

I mocked-up my Sailor V shirt today!  Over all it turned out pretty good. I will be taking the collar in 1-2 cm along the back, I find it too big.  And I think i will be shifting the sleeve (not pictured) so the split between the red and white will be more even.


The front looks good. I *may* widen the collar opening (not 100% sure yet) and I think I may need to take it in a bit.

Wednesday, 3 February 2016

In the name of the Moon!

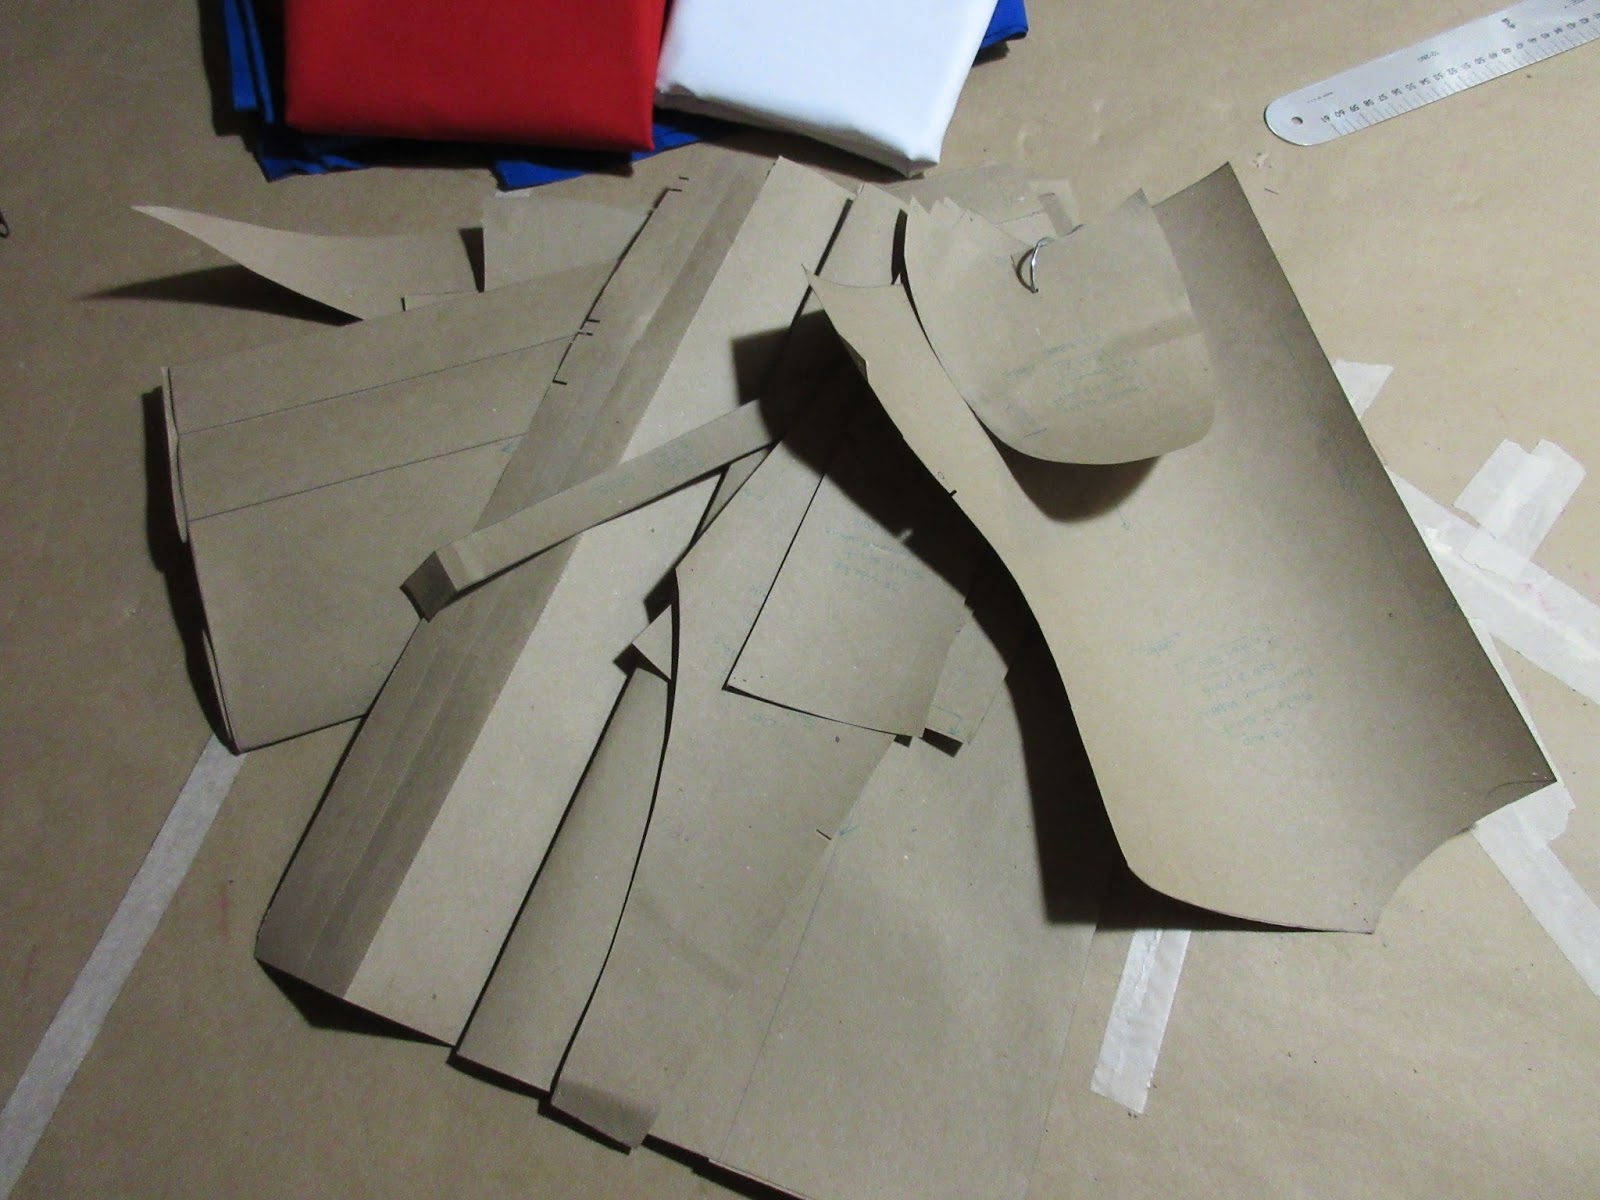
Because Sailor V does say that before Sailor Moon.  Yesterday, I started drafting the patterns for Sailor V from the Sailor V Manga and later the Sailor Moon Manga. V is one of 3 costumes I am making for myself to wear to Anime North 2016.  The other two are of course Sailor Venus and Princess Venus.  I've even got a white cat lined up to borrow for photos!
Behold! The early 90's glory of her costume!

The makings of a Magical Girl.

 Ah, pattern drafting.  The pattern math is like school, the cutting like art class and the mess left on my hands from all that graphite dust, and eraser shavings collateral damage.

Seriously, it looks like it snowed on my cutting surface.
 I'm going to mock up the top tomorrow.  It's a simple crop top, but I want to make sure it is long enough for my torso and that the collar looks the way I want it to before I sew the actual thing.


Top parts.
I finished the patterns today. I think this is one of the fastest costumes I have ever drafted and one of the smallest.

YAY!


Monday, 17 June 2013

Jupiter Supreme Thunder!

And so Sailor Jupiter came and went and is now done. On to Red Arrow!

I got lazy and didn't post progress pictures.  Maybe because the colours are the only thing different from the Sailor Moon costume I made. So it wasn't too new or exciting :)

Here be the choker.  I made a 1.5 or so inch rectangle by the width of the neck (33cm). Sewed it together leaving an opening in the middle of the lower seam line to flip it right side out (later to be sewn shut by hand), ironed it and added velcro to close it.


The cuffs were a similar sew. I made them by the width desired by the length measured around her arm. Sewed the bottom hem shut and left the sides open.  Once flipped open to the right side I sewed/surged one end shut and sewed in the seam lines for the stuffed tubes.

Then I stuffed them sewed/surged the other end shut, and stitched them closed by hand and then attached some store bought white cloves (Claires, Ardeenes or bridal/prom stores) by hand.


The sleeves I did similar to the cuffs. I cut them out, gathered the top a bit so people could move their arms and sewed all but one side shut. I then sewed the channels for the stuffing and stuffed them. Then sewed them shut and attached them to the bodysuit.


I learned my lesson last time and did not interface the entire bow. I did that last time and it was nearly impossible to crunch it down enough to sew the connector band in the middle on. So this time I left a 8cm space free of interfacing in the middle of the rectangles so I could crunch them down better into the bow connector and it worked much better/faster/less swearing was done.

I used the same pattern for the collar as I did on the Sailor Moon costume, but added 4cm to the center back to make it big enough to fit around this body suits neck.  I then flipped it right side out after sewing, pressed it flat and sewed the neckline closed by hand. I added the stripes on with steam-a-seam.

The circle skirt was also the same. It closed up the back with an invisible zipper and velcro.
 

And here be the finished costume! Now on to Red Arrow!


Monday, 22 October 2012

Never running from a real fight.

Today was the day for sleeves and collars. I traced out a quick version of the sailor collar on muslin to check to see if the size was okay.

It ended up being 9cm (total) to short in front and the sides and bottom needed trimming.  So I added 4.5cm extra to the point the wraps around the front and then took 3cm off the sides (and tapered up to make a straight edge) and probably about the same amount off the bottom too.

Which made it look more like this in the end.

Next up was the sleeve.

Which ended up looking like this. 
 The flat one is the sleeve before gathering the top (which I had to do to make room for the shoulder to move around) and stuffing it for the poofy look of the Sailor Senshi uniform sleeves.  They are made from white spandex, and sewn with a small zig zag stitch, which will not snap and break in a stretch fabric like a straight stitch.  They are stuffed with regular stuffing for making stuffed animals.

And here are the sleeves pinned in place to the bodysuit.  They have since been sewn to the body suit and are much less lumpy looking :D


Next up: Sewing together the sailor collar, attaching ribbon for the sailor stripes, cutting out the skirt and stuffing the waist band and then finally making some GIANT bows (which is gonna involve some stiff interfacing).

Thursday, 18 October 2012

Winning love by daylight.

The Jedi is done!  I hemmed it today and it can go to its rightful owner when I next see him (which will be Tuesday).

I spent most of a lovely sunny October day working on both costumes while The Avengers played to keep me company.

I have the sleeve and collar patterns drafted for the Sailor Moon costume. Which was fun since I didn't have an actual pattern for the body of the costume.  So what I did do was pin the body suit down and trace the shape of the body suit to get a front and back pattern.

Which ended up looking like this:
This is the front of the pattern, which I cut off below the bust since all I needed was the neck and armholes for my patterns.

And here is the back:

Then it was time to draft the sailor collar and sleeve. Which generally starts out looking like this:
A page or sometimes 2-3 pages of math equations to get the right sizes.  Never thought when I went into Art school I'd be doing so much math, but Surprise! You  have to to get a pattern.

One half of my sailor collar pattern.

And a shot of the sleeve in the process of being drafted.

Which eventually looked like this:
The sleeve was then shortened and split up into five parts to get a spread for the shoulder and shaping for the ribbed sleeve cap the sailor moon uniform has.  The lines on it are dividing it into 3 equal parts for stuffing later.


Aside from sleeves and collars I also made the armbands and choker today.

This is the armband before I sewed it and stuffed it full of stuffing!  The cuffs will later be sewn onto some pre-made while elbow length gloves.

And this is the choker. The Gem is a maybe. I have a larger one too, but I want my clients opinion before I tack anything down.  The choker  will close with Velcro.


And that is it for now!  Tomorrow I will cut out and try the collar and if all is good, cut into real fabric and get down to business!