Find me on Facebook!
And the Internet!
Tuesday, 14 January 2014

*cough cough* Where did all that dust come from? I guess I neglected this much longer then I thought! Sorry all, the Christmas season proved rather insane, but now we are back in business!
The business of making a huge mess in order to make armor.
The business of making a huge mess in order to make armor.
 |
| Momentarily distracted by Phinnias and Ferb's "Squirrels in my Pants" song. |
Sean, our Cecil is working on cutting out the pieces of his front breast plate.

I think this is the craft foam layer for a side front panel.

He had moved on to his front breast plate since he had finished his back one and I had taken over the heat gun for the time being. It looks weird when its still flat, but it is in fact the back plate for his armor. Cecil wears a cape, so we have no clue what his back plate looks like, so we just echoed the shape of his front breast plate.

But then I was done mine and it was time to change into under armor and heat up the Worbla again and then quickly call us over to start pressing into place.

It took two of us to get this sucker pressed into place on his back, along with Sean leaning into us as we did it, but eventually it had shaped enough and cooled enough that I could run over and get the camera. You can see Billy (our Edge) doing some final tweaks.

After we got it off of him, which was fun cause the Worbla is sticky when hot and had kinda stuck to his under armor shirt. It kind of looks like a giant Taco chip.


My turn! We made up what Kains Back plate looks as well since back shots of him are non existent. The rest of his armor is pretty pointed all over so we just did that. I'll be wearing a black Faux-Leather corset styled top under this, and there will be a dragon scale look spine to cover up my lacing.

Pro tip: Take your socks off when two people are pressing heat moldable plastic armor onto your back and you are standing on a laminate floor. Unless you want to slide everywhere.
And here is my back plate. The points thankfully do not poke into me, which is nice. Eventually there will be a stand up collar attached to it. Sadly, since Kain has long blond hair, I think my wig will hide half the work here! Oh well!
 |
| It was also completely stuck to my shirt. |
Ta-Da!

And now a random shot of Zael the Chameleon. Who watched the entire process unfold in front of his cage. He looks....mildly unimpressed, but then he usually does.
 |
| "Silly Humans...." |
Tuesday, 22 October 2013
Kain Highwind Armor : Arm armor stage 1
FINALLY!
We started work on the armor for our costumes! Our Cecil already had his arm armor started, so he helped me get the jump on my Kain arm armor.
 |
| Kain, why you so spiky!? |
Using the taped patterns we had made a month or so ago, we drew on the shape of the armor and cut out our patterns. Then we fixed the edges of those patterns and made paper patterns from them and mocked it up in paper. After that was done it was a matter of marking left and right arm, and then cutting out the pieces in craft foam and worbla.
 |
| Transferring to craft foam, you can already see parts of the patterns drawn onto the worbla. |
 |
| Still transferring/cutting out. |

After everything was cut out, it was time to break out the heat gun and heat up the Worbla plastic. After its heated, we placed the craft foam in between the 2 layers and sandwiched it, pushed down our edges to seal it, timmed off the excess plastic (saving all discarded parts) and then smoothed out the edges.

Anyway. The front arm shape I made myself, but looking at the picture above, the back arm shape peels away from my elbow, so in that case my friend bent that away from me while I held down the other pieces to shape to my arm. The result looks like this:
 |
| I'm pretty darn pleased! |
This is the base for our Cecil's arm armor:

After the arm armor was done, it was time to start on the patterns for the leg armor, which resulted in some...compromising photos.
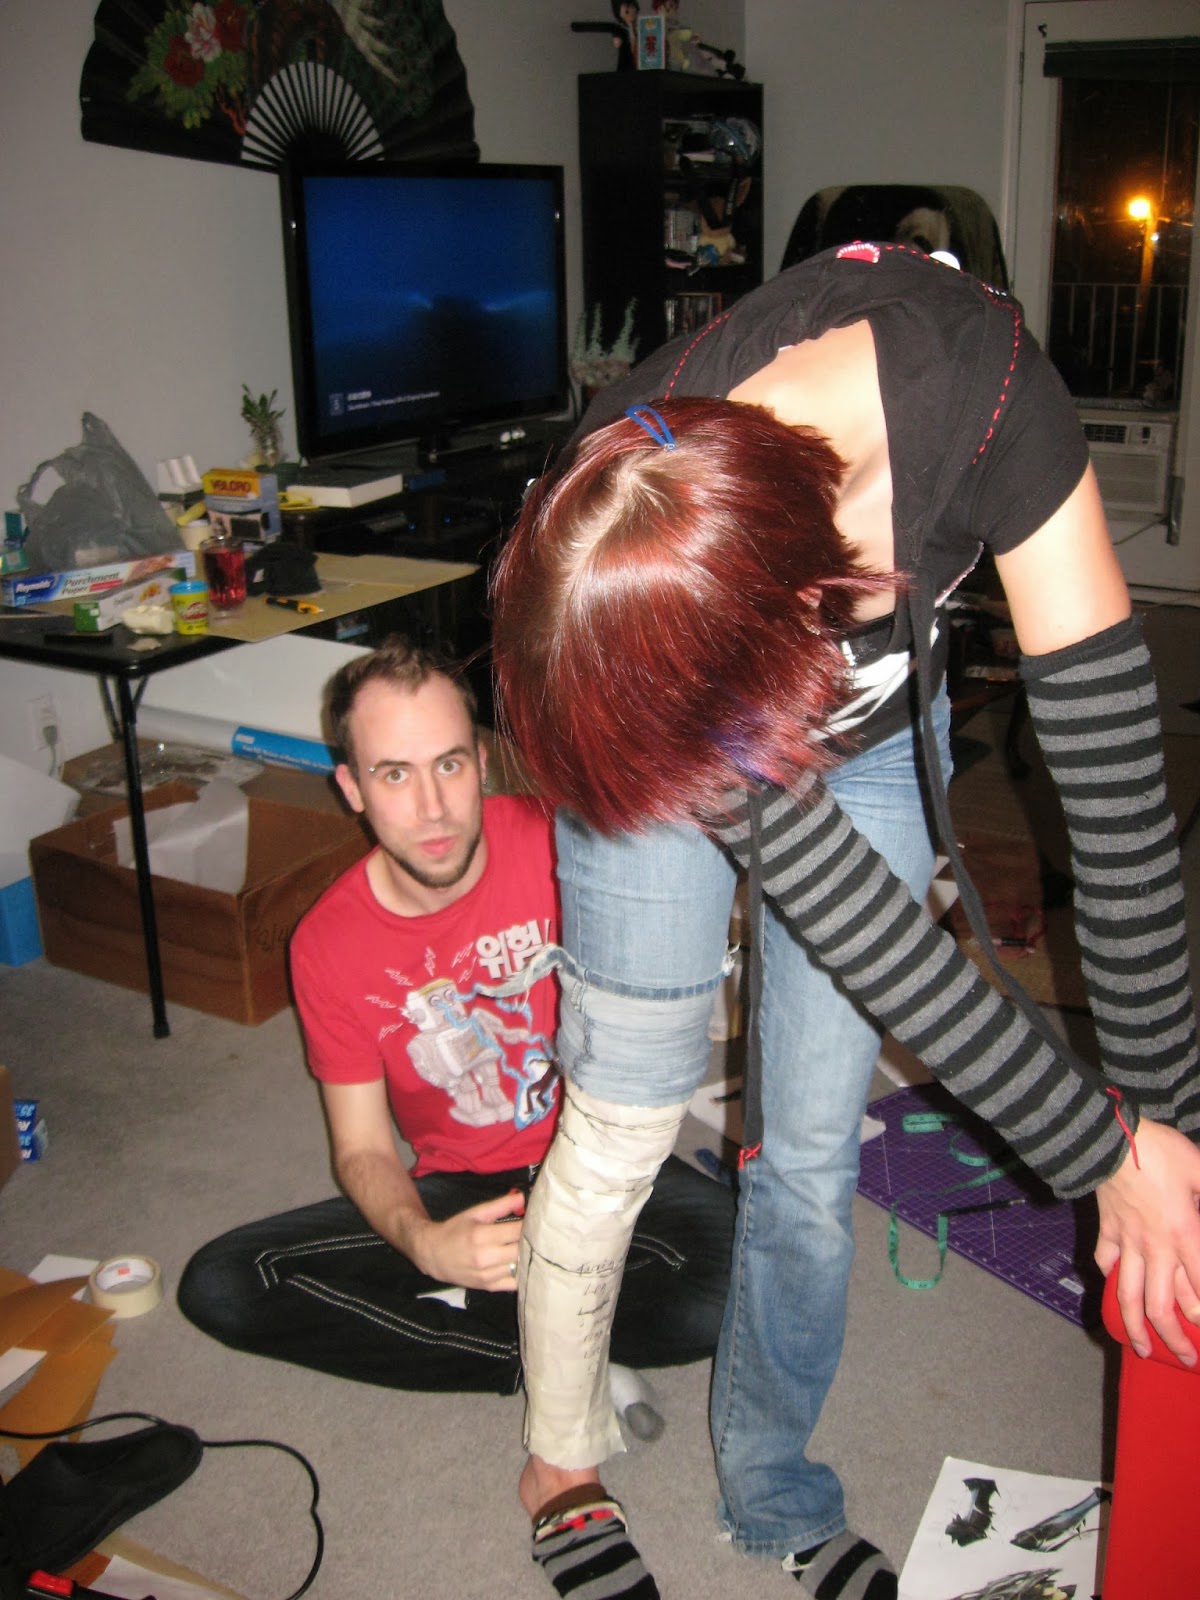 |
| Drawing the pattern of the leg armor onto the masking tape. |
 |
| After it was all drawn, it was time to cut me out again. |
Monday, 14 October 2013
How to make Cuite Mark socks/legwarmers.
Hello all!
So I did these a couple weeks ago, but was too busy to post until now. So now you get a quick little guide on how to make Cutie Mark socks/legwarmers!
What you need:
- Pencil
- Paper
- Steam-a-seam, heat n' bond or stitch witchery (some sort of two sided iron on adhesive to attach your design to the sock)
- 2 way stretch fabric in the colours of your pony and their cutie mark.
- Scissors (paper and fabric)
- Thread matching your fabric.
- Measuring tape.
- ruler
First, pick your pony. Mine is of course Applejack.
On some paper, draw out the preferred pony's cutie mark. Remember, if your pony has more then one picture for their mark, you need to make the sign pretty small so the multiple pictures will fit on the front of your shin not wrap around to the back of your sock (This goes for a single mark cutie mark like Rainbow Dash or Twilight sparkle as well). Applejack's cutie mark is 3 apples with leaves, so this is how big my apple and leaves are in comparison to a pen.

Next, cut out your mark or marks from the stretch fabric and the steam-a-seam. Once done, set them aside.

I forgot to take pictures of this part. (sorry!)
With a measuring tape, measure how long you want your sock to be and then measure around your leg in 3 place: The top bottom and middle of where your sock will land. I measured above my knee, around the thickest part of my calve and my ankle.
My socks length was 47 cm long (approx 18.5 inches). The width at the top (over my knee) was 36cm, the calve was 33cm and around my ankle was 20cm.
Draw a center line that is the length of your sock. At the top, middle and bottom of this line, draw a line across that is the width of your top, middle and bottom measurement (half on each side of the center line). You'll end up with something that looks like this:


Next, positioning your cutie mark:
I am making these for Applejack's Equestria Girls outfit, which means they are meant to be worn with cowboy boots. So, I slipped my pattern into my boot and traced around the top edge of the boot so I would know where that ended.

Once I traced around the top of my boot, I drew in my cutie marks and then double checked it in the boot to make sure it still worked.
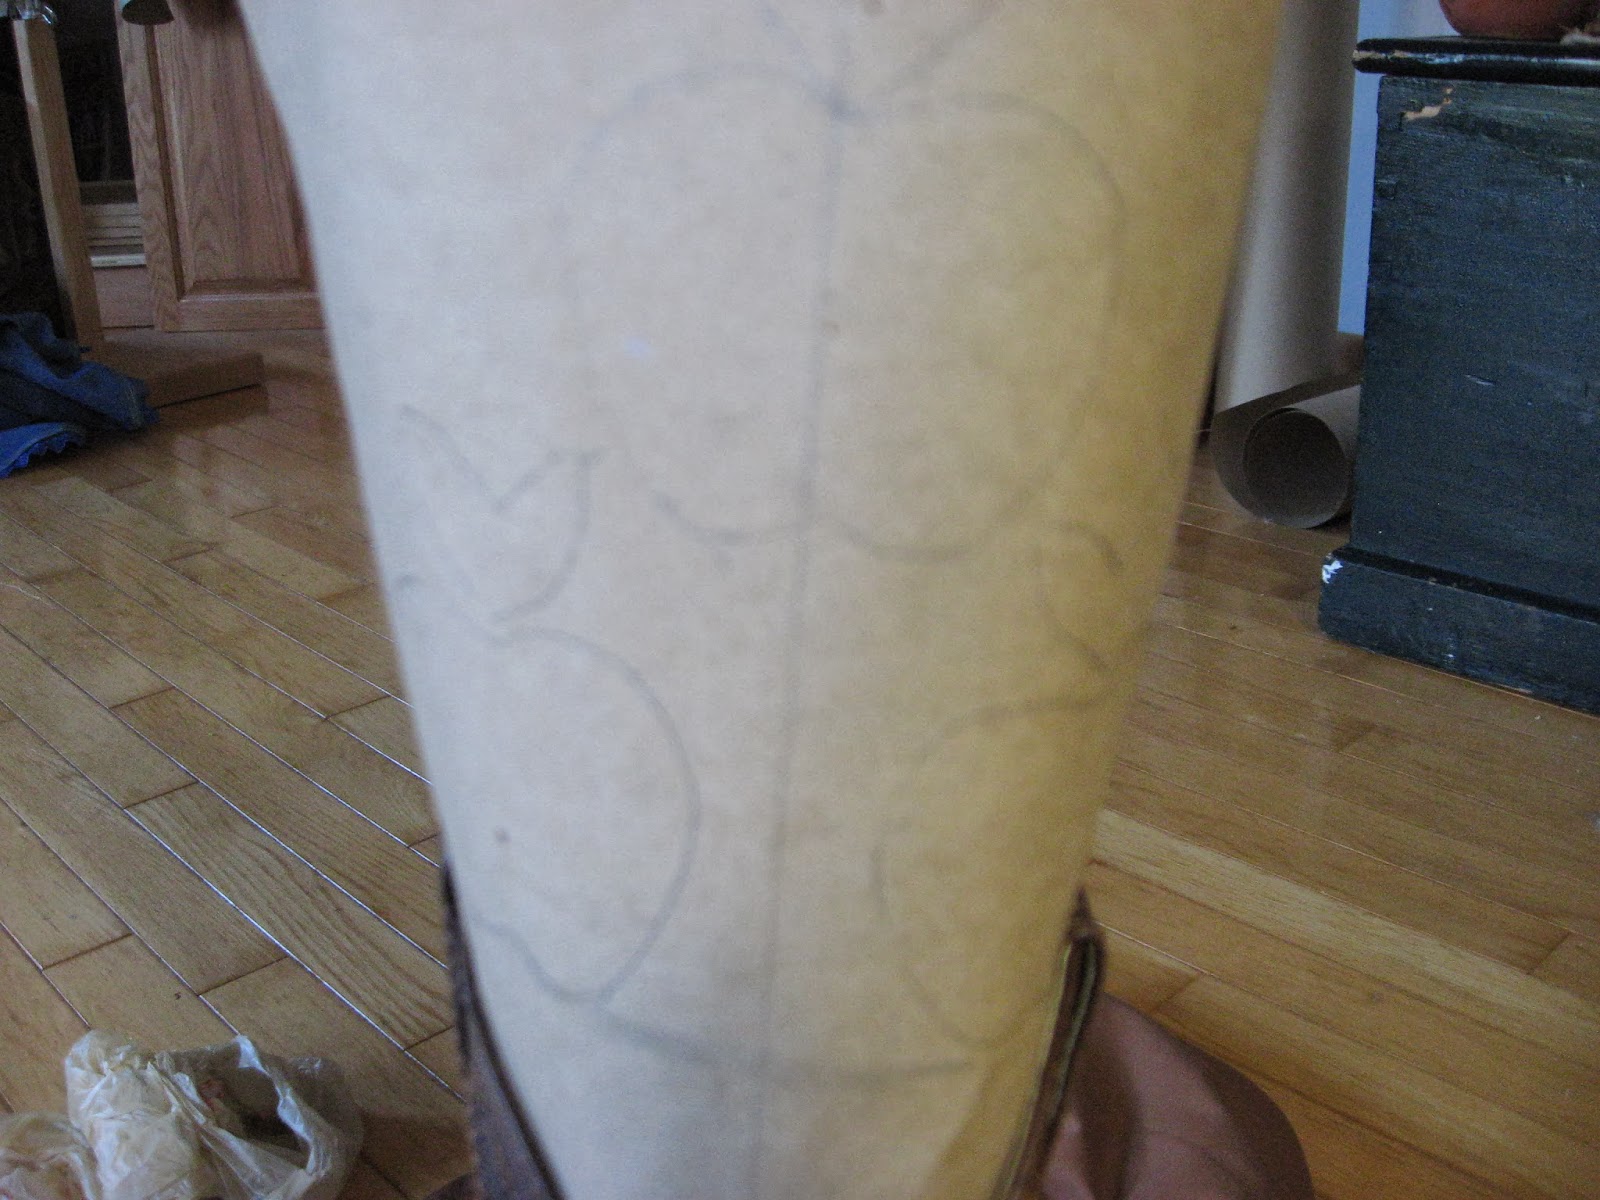
Once I had the final position of my cutie mark figured out, I put in notches to mark the sides and bottom of each mark as well as where the bottom of the leaves would be. This is so you can trace the positioning onto the fabric easier.

With a marking tool, trace around the pattern of the sock.

Cut out the fabric, flip it over so the right side of the fabric is out and put your pattern back on the fabric. Take your marking tool and trace out the cutie marks.

Remove your pattern and place your already cut out cutie marks (with adhesive) onto the fabric. Carefully take that over to the ironing board (re-position if they moved in transport) and using a pressing cloth iron your cutie marks to your socks.

Once you have ironed your marks down. Stitch around the edges of the mark with the zigzag stitch in matching colour thread so it blends in. This is to secure them further and keep your edges from possibly rolling from wear and tear later.
Hem the top and bottom of your sock with a zigzag stitch (a straight stitch will snap and break in a stretch fabric because it doesn't move, whereas a zigzag will move with the fabric and stay sewn).
Once you have sewn the top and bottom, match up your edges and sew your sides, also with a zigzag stitch. You may want to put an extra pin in at the top and bottom to secure your hems from moving in sewing and being uneven.
Hooray! we have something that looks vaguely like a tube sock! But trying it on you realize it is rather baggy in places still, isn't it? That is because there is one last step:
Take your tube, and put it on inside out. Either by yourself or with the help of someone else, pin along the contours of your leg to get a tighter fit. It'll end up looking something like this:
 |
| Hello Cheshire from young justice's knee band. |
Now you have a sock/legwarmer! Wear and enjoy!

If for some reason, they don't want to stay up, its just a matter of bringing in the seam at the back more so they are tighter. I wore mine around the house for a while (hence the wrinkles) to test if they would stay up.

You may have noticed my leggings are brown not orange like Applejack. This is because her cutie marks in Equestria Girls are on her cowboy boots, which are brown. So I made my socks to reflect that.
Thursday, 3 October 2013
Equestria Girls AppleJack (My Little Pony Friendship is Magic)
So I have always loved My Little Pony. I have 4-5 shelves full of G1 (generation 1 aka the ponies from the 1980's) ponies and that collection grows on a regular basis. One of my favoirte's was and still is Applejack. Infact Applejack is the reason I started watching the new My Little Pony Friendship is Magic series. So it seemed like fine idea to me to cosplay as one of the ponies, and as much as my friends all probably thought that would be Fluttershy, it was always going to be Applejack.
Now I am not a hoofed mammal, so obviously this costume would have to be a human version of the character, which is when the Equestira Girls movie came out (and turned out not to be terrible) I had my chance. In that movie after all were cannon Human ponies.
Now I am not a hoofed mammal, so obviously this costume would have to be a human version of the character, which is when the Equestira Girls movie came out (and turned out not to be terrible) I had my chance. In that movie after all were cannon Human ponies.
So here she is. Applejack. A pretty basic costume. I chose to take a couple creative liberties with the costume. Obviously I was probably never going to find Cowboy boots with apples on them (although the ones I did find have butterflies, Fluttershy would approve) So I will be making brown socks with the cutie marks on them instead. Also,Applejack is a country girl, and country girls like to square-dance, so I made my skirt more poofy with a crinoline (in orange and yellow, her pony colours) underneath it.

I found this fan art online and really liked it. The Equestira Girls outfit is after all rather void of detail, so I chose to use the styling from this fanart. So my pockets have the loopy design on them and my hem is double stitched in yellow.

This is what I have so far, please ignore how wrinkled it looks, its been on and off that Judy a billion times now (and in a heap on a table/floor more then once). It's also looking much longer then the actual skirt there cause my Judy is not matching my actual height (I'm 5'10, the Judy is like 5')

Thursday, 26 September 2013
Even Godzilla would be dwarfed
Yeeeaaah..... maybe binding those edges with bias tape was not the best idea. Thank God I only did 1 layer bound and then tried it on under the skirt before doing the other 3 layers.
 |
| Poster skirt for Abba's new hot song "Square dancing Queen" |
My face when I first saw the effect it had:
 |
| Oh Darling! What were you thinking!? I don't know Rarity. I really don't. My horror was short lived though, after it wore off, it basically turned into this and started taking pictures. |
 |
| If you can't laugh hysterically at your mistakes, you are too serious. |
Wednesday, 25 September 2013
Making a crinoline.
Making a crinoline.
TAKES FOREVER!
TAKES FOREVER!
So I am making a crinoline for a Halloween costume I have been working on. The skirt in the pictures is quite poofy so I figured this was the best way to get that look.
It's in two layers (folded, so I guess 4 layers) of Crinoline. Yellow is the longer layer for the bottom

And orange for the above layer.

This is my day...right here.

Gathering and gathering and gathering.
The Crinoline is being sewn the way I remember Fabrics doing ours at Kings Landing Historical settlement.
Layers of gathered ruffles rather then the standard 50's petticoat crinoline. I wanted a good amount of poof, and if this method works for and 1860's hoop skirt. It should work for this.

So the white part (which will be trimmed) is actually just a cotton version of the circle skirt that will be over it. I guessed that the over-skirt length would be about 40cm or so when done, so I've made the petticoat 35com so it doesn't hang below. Once it is done, it will get sewn into the waistband of the over skirt and function as a lining/petticoat.

I've left it bare down to about the 20cm mark, which is just around where my hips are (so I don't get a big butt profile :P)
The orange layer of gathering is 3, 3m pieces about 31 cm wide and then folded in half (so 15-16 cm after the fold), sewn and gathered together. The yellow band under it is 20 cm wide (so 10 cm when folded) and is 4, 3m long pieces.
Once it is all gathered, I laid the skirt out flat and pinned the ruffle along a line I drew in chalk to make where i wanted it to be. As I went along , I made sure I had it the right length to wrap around the entire skirt and that the gathers were even. Then I sewed down the orange later. I've repeated the same steps for the yellow ruffle and have just got it pinned and ready to sew down.
Once it is sewn down, I'll be binding the edges with cotton seam binding (crinoline is hella scratchy/picks otherwise) and then trimming off the excess white fabric and hemming it/attaching it to the already made over skirt.
Once it is sewn down, I'll be binding the edges with cotton seam binding (crinoline is hella scratchy/picks otherwise) and then trimming off the excess white fabric and hemming it/attaching it to the already made over skirt.
Stay tuned!
Subscribe to:
Posts (Atom)