Hello all!
So I did these a couple weeks ago, but was too busy to post until now. So now you get a quick little guide on how to make Cutie Mark socks/legwarmers!
What you need:
- Pencil
- Paper
- Steam-a-seam, heat n' bond or stitch witchery (some sort of two sided iron on adhesive to attach your design to the sock)
- 2 way stretch fabric in the colours of your pony and their cutie mark.
- Scissors (paper and fabric)
- Thread matching your fabric.
- Measuring tape.
- ruler
First, pick your pony. Mine is of course Applejack.
On some paper, draw out the preferred pony's cutie mark. Remember, if your pony has more then one picture for their mark, you need to make the sign pretty small so the multiple pictures will fit on the front of your shin not wrap around to the back of your sock (This goes for a single mark cutie mark like Rainbow Dash or Twilight sparkle as well). Applejack's cutie mark is 3 apples with leaves, so this is how big my apple and leaves are in comparison to a pen.
Next, cut out your mark or marks from the stretch fabric and the steam-a-seam. Once done, set them aside.
I forgot to take pictures of this part. (sorry!)
With a measuring tape, measure how long you want your sock to be and then measure around your leg in 3 place: The top bottom and middle of where your sock will land. I measured above my knee, around the thickest part of my calve and my ankle.
My socks length was 47 cm long (approx 18.5 inches). The width at the top (over my knee) was 36cm, the calve was 33cm and around my ankle was 20cm.
Draw a center line that is the length of your sock. At the top, middle and bottom of this line, draw a line across that is the width of your top, middle and bottom measurement (half on each side of the center line). You'll end up with something that looks like this:
Join the top line to the bottom line. Don't worry if it cuts the edges of your middle line off a bit, it's more important to get the shape then match everything up. Doing that, you will get a shape like this:
Cut that shape out and you have your bace sock/legwarmer pattern.
Next, positioning your cutie mark:
I am making these for Applejack's Equestria Girls outfit, which means they are meant to be worn with cowboy boots. So, I slipped my pattern into my boot and traced around the top edge of the boot so I would know where that ended.
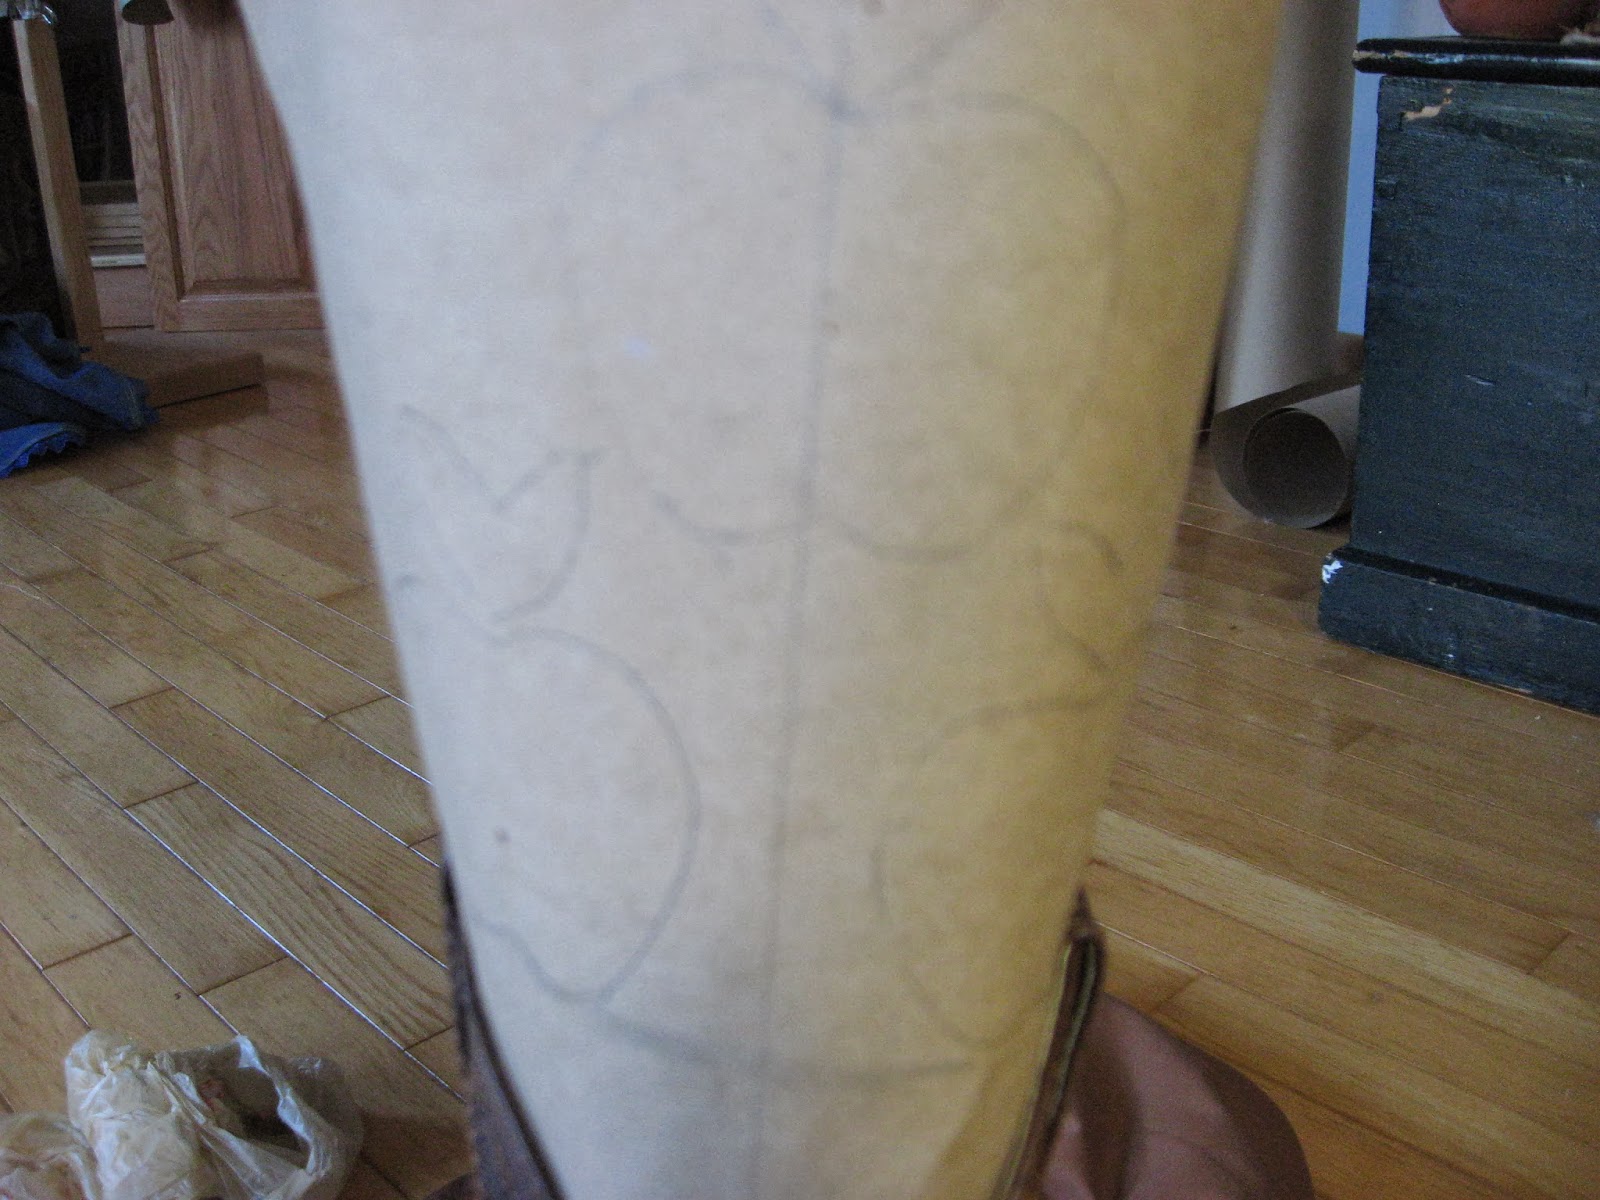
Once I traced around the top of my boot, I drew in my cutie marks and then double checked it in the boot to make sure it still worked.
Once I had the final position of my cutie mark figured out, I put in notches to mark the sides and bottom of each mark as well as where the bottom of the leaves would be. This is so you can trace the positioning onto the fabric easier.
With a marking tool, trace around the pattern of the sock.
Cut out the fabric, flip it over so the right side of the fabric is out and put your pattern back on the fabric. Take your marking tool and trace out the cutie marks.
Remove your pattern and place your already cut out cutie marks (with adhesive) onto the fabric. Carefully take that over to the ironing board (re-position if they moved in transport)
and using a pressing cloth iron your cutie marks to your socks.
Once you have ironed your marks down. Stitch around the edges of the mark with the zigzag stitch in matching colour thread so it blends in. This is to secure them further and keep your edges from possibly rolling from wear and tear later.
Hem the top and bottom of your sock with a zigzag stitch (a straight stitch will snap and break in a stretch fabric because it doesn't move, whereas a zigzag will move with the fabric and stay sewn).
Once you have sewn the top and bottom, match up your edges and sew your sides, also with a zigzag stitch. You may want to put an extra pin in at the top and bottom to secure your hems from moving in sewing and being uneven.
Hooray! we have something that looks vaguely like a tube sock! But trying it on you realize it is rather baggy in places still, isn't it? That is because there is one last step:
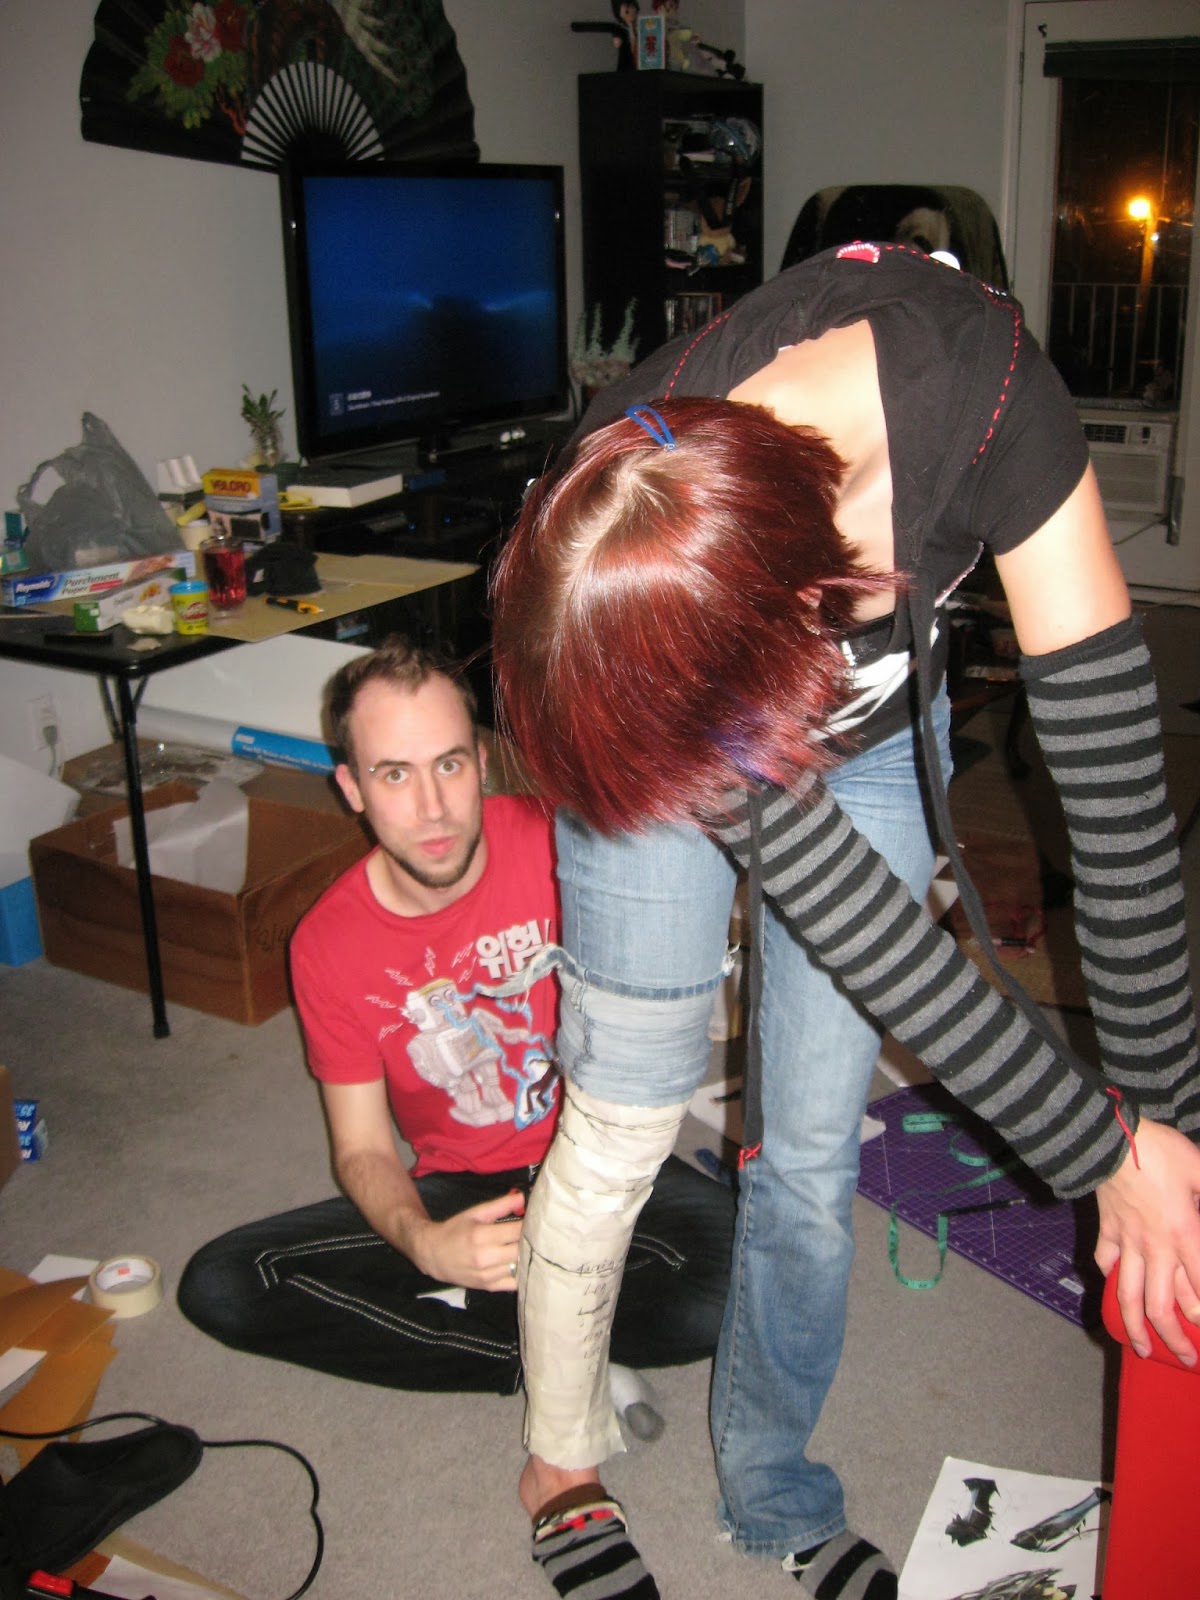
Take your tube, and put it on inside out. Either by yourself or with the help of someone else, pin along the contours of your leg to get a tighter fit. It'll end up looking something like this:
 |
| Hello Cheshire from young justice's knee band. |
Very carefully slide the pinned tube off your leg, so as to not poke yourself or loose any pins. Re-adjust your pins so you have a smoother line and sew up this new pinned line. Cut off the now excess fabric and finish your edges, either by surgeing or cutting with pinking shears. Sew a little line of stitching to secure down the seam allowances at the top and bottom so they don't poke out and Voila!
Now you have a sock/legwarmer! Wear and enjoy!
If for some reason, they don't want to stay up, its just a matter of bringing in the seam at the back more so they are tighter. I wore mine around the house for a while (hence the wrinkles) to test if they would stay up.
You may have noticed my leggings are brown not orange like Applejack. This is because her cutie marks in Equestria Girls are on her cowboy boots, which are brown. So I made my socks to reflect that.


