FINALLY!
We started work on the armor for our costumes! Our Cecil already had his arm armor started, so he helped me get the jump on my Kain arm armor.
 |
| Kain, why you so spiky!? |
Using the taped patterns we had made a month or so ago, we drew on the shape of the armor and cut out our patterns. Then we fixed the edges of those patterns and made paper patterns from them and mocked it up in paper. After that was done it was a matter of marking left and right arm, and then cutting out the pieces in craft foam and worbla.
 |
| Transferring to craft foam, you can already see parts of the patterns drawn onto the worbla. |
 |
| Still transferring/cutting out. |
After everything was cut out, it was time to break out the heat gun and heat up the Worbla plastic. After its heated, we placed the craft foam in between the 2 layers and sandwiched it, pushed down our edges to seal it, timmed off the excess plastic (saving all discarded parts) and then smoothed out the edges.

Anyway. The front arm shape I made myself, but looking at the picture above, the back arm shape peels away from my elbow, so in that case my friend bent that away from me while I held down the other pieces to shape to my arm. The result looks like this:
 |
| I'm pretty darn pleased! |
This is the base for our Cecil's arm armor:

After the arm armor was done, it was time to start on the patterns for the leg armor, which resulted in some...compromising photos.
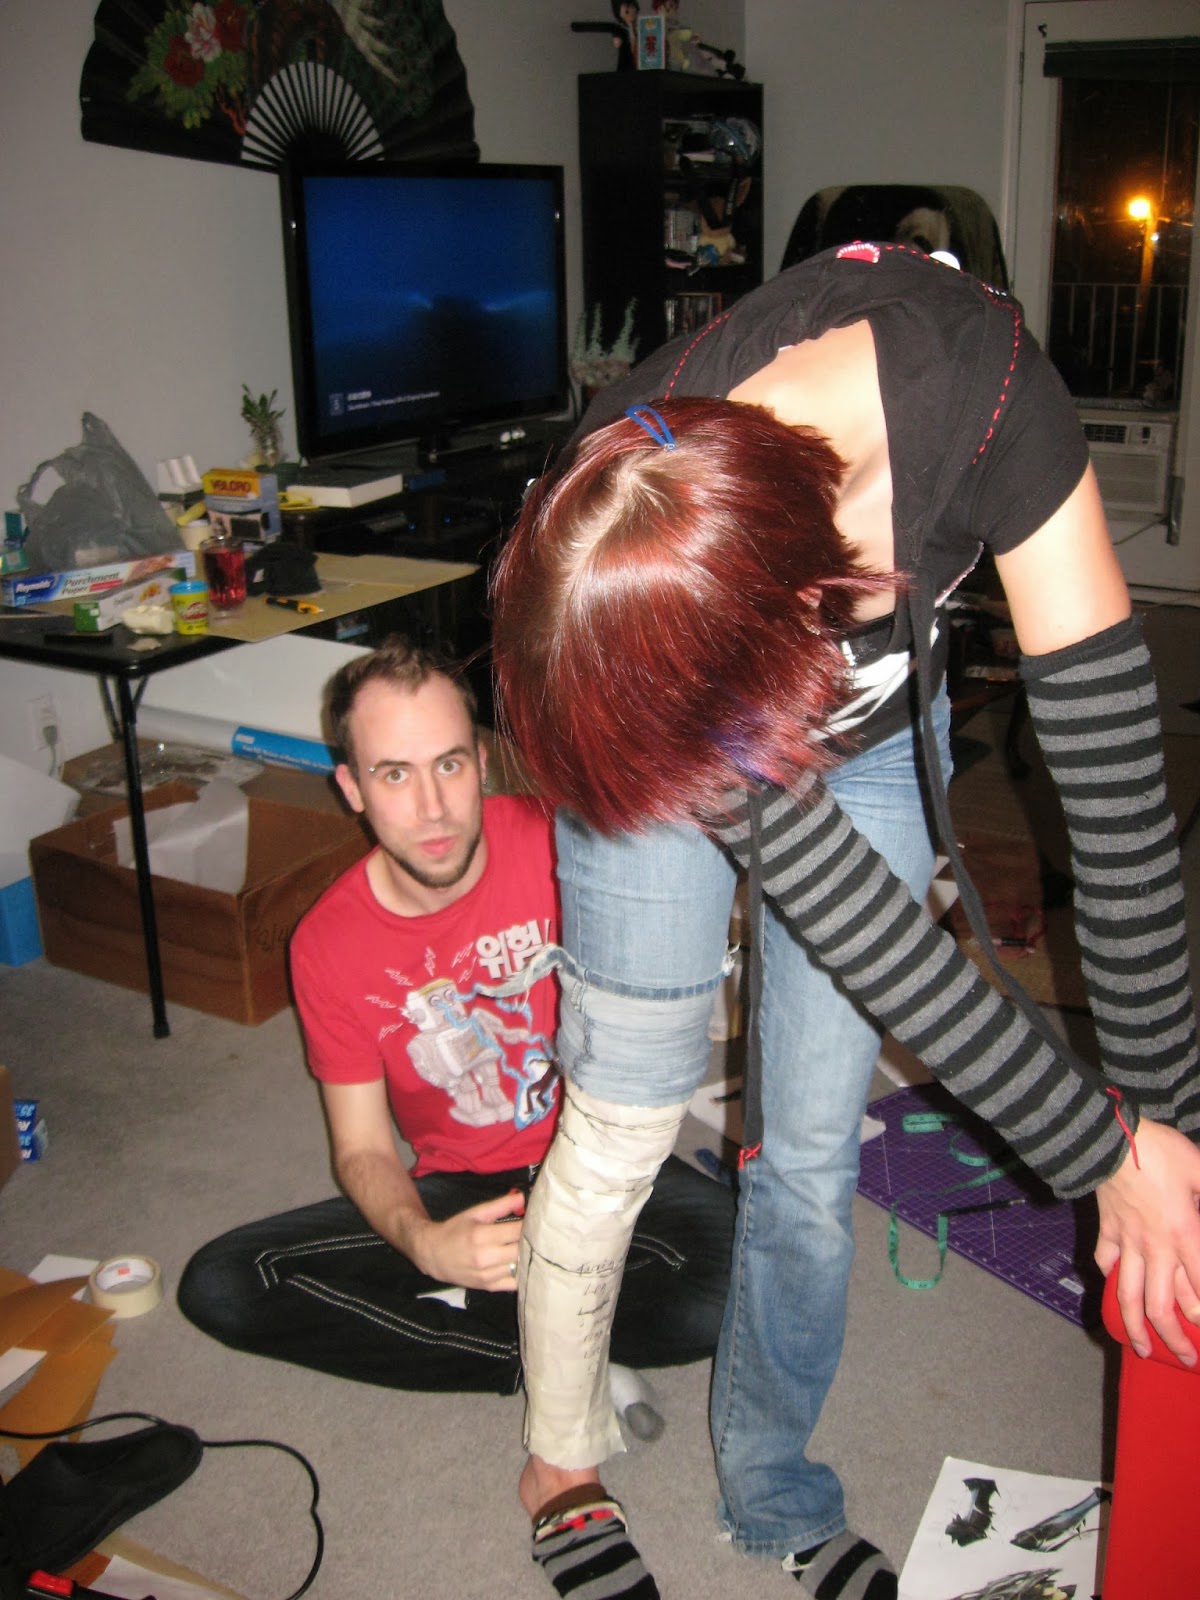 |
| Drawing the pattern of the leg armor onto the masking tape. |
 |
| After it was all drawn, it was time to cut me out again. |
No comments:
Post a Comment