As promised, an entry about the collar for Pride. When I think of Pride the first thing that comes to mind is having your nose up in the air and looking down on (other) people. So from the start, I had the idea that I wanted some sort of high fancy collar.
Had I gone the route of the tailor suit, I would have made it a very grand collar that sticks up, but I scrapped that and went with a corset and skirt. So now the question is/was how to do the collar? Well as I posted last time, Yzma from Disney's Emperors New Groove answered that.

I mean, that is a pretty badass collar it you ask me, and she wears it so well!! Plus, someday down the road I am thinking of making a Yzma cosplay for myself, so making her collar for Pride doubles as practice right?
First off I needed feathers. I knew you could but feather trim, I'd seen it on Ebay and the like, but not in my home town. I found what I wanted on a shopping trip to Bangor, ME with my Mom back in September.

The short feather trim would work for the general shape and filler, but I wanted more drama, so on that same trip I found longer skinny feathers at Joanne's fabrics.

They look like this once they are out of the bag...

First off, testing patterns. I made a basic Mandarin style collar for my first try, and according to my friends it was pretty effective, but I found it was too close to my face, so my ears and hair interfered with the feather trim.
 |
| Lookin' good.... but needs more DRAMA! |
 |
| Looks soooo good with my t-shirt and hooded shirt combo. |
 |
| Measure twice, cut once. Seeing how much trim I would need to go around the first collar. |
So I ended up taking the first collar and slicing into the paper pattern and adding to it to get a wider top. It's a similar technique I used to make Maleficent's collar in 2012. The result, more drama, but farther away from my actual head so my hair doesn't get tangled in it anymore.
I pinned the feather trim into place on a piece of horsehair canvas (couldn't find my light weight buckram.) And then staggered the longer loose feathers in. I got them pretty evenly spaced by slipping them in behind the pins holding the trim on, and then in the back added a couple extra between them, because why not?

The result looked like this, you can see the ends of the longer feathers poking out there. Once the trim was on and I was ready to sew on the outer fabric, I clipped those off, I thought they might be pokey/itchy and then trimmed down my seam allowances.

After the feather ends were clipped and my seam allowances were trimmed, I pinned my purple fabric into place, and then the black taffeta which will be the inside. I then top stitched them down/together and once that was done did the same for the bottom curve.

I ended up not liking the top stitched look so I hand tacked some decorative trim over them to finish my edges. Then put in a button hole and button to close it up.

The finished collar looks like this.

Hooray!

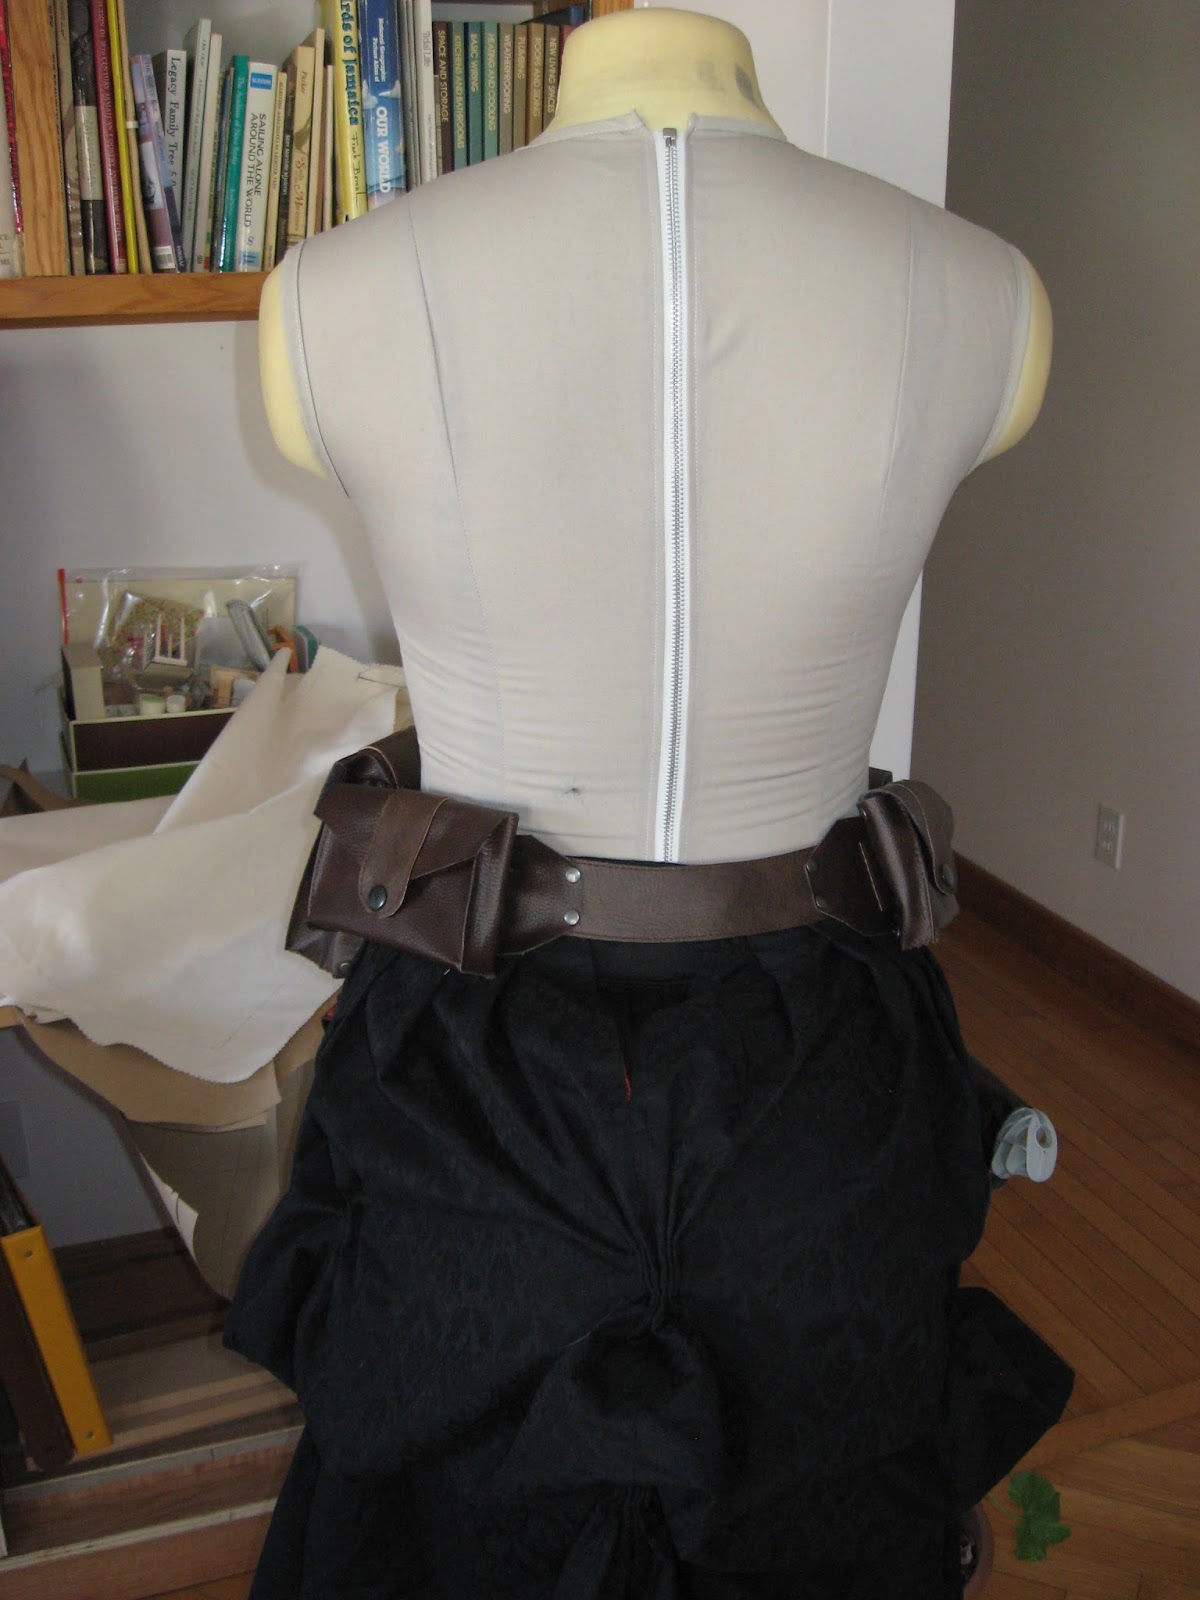
On to the bustle!!


