Apologies if this is a duplicate post! I looked though, and I don't think it is. I think the photos just look familiar because I took them. :) The deadline came up and well, the poor blog feel to the wayside.
So Collars! It was pretty easy, I took a piece of tracing paper and etched out the lines of the front and back necklines. Then I made a collar shape on that and cut them out of the craft foam.
The raised edge in the center is a thin strip of craft foam I glued to the bigger piece (like I did for the belt) and then once everything was attached I added a tiny bit of worbla piping to finish the top edge.

I then repeated the process for the back.


I used this tutorial to make my mold. Cosplay Supplies, btw (the website that link goes to) is where I buy all my Worbla and Wonderflex. All you need to make the mold is a balloon, newspaper and some paper mashe mix, then go to town like it is grade 4 all over again!
The result is a rounded mold. I did mine in 4 layers of paper mashe, and then once that was done, I sanded the heck out of it to rid myself of any lumps or bumps. I still found it a bit lumpy in the end so I taped over the whole mold with masking tape, building up any areas next to lumps till it was all pretty much smooth.
Then I found my centers which I would need to know for placement of the spikes on the armor.

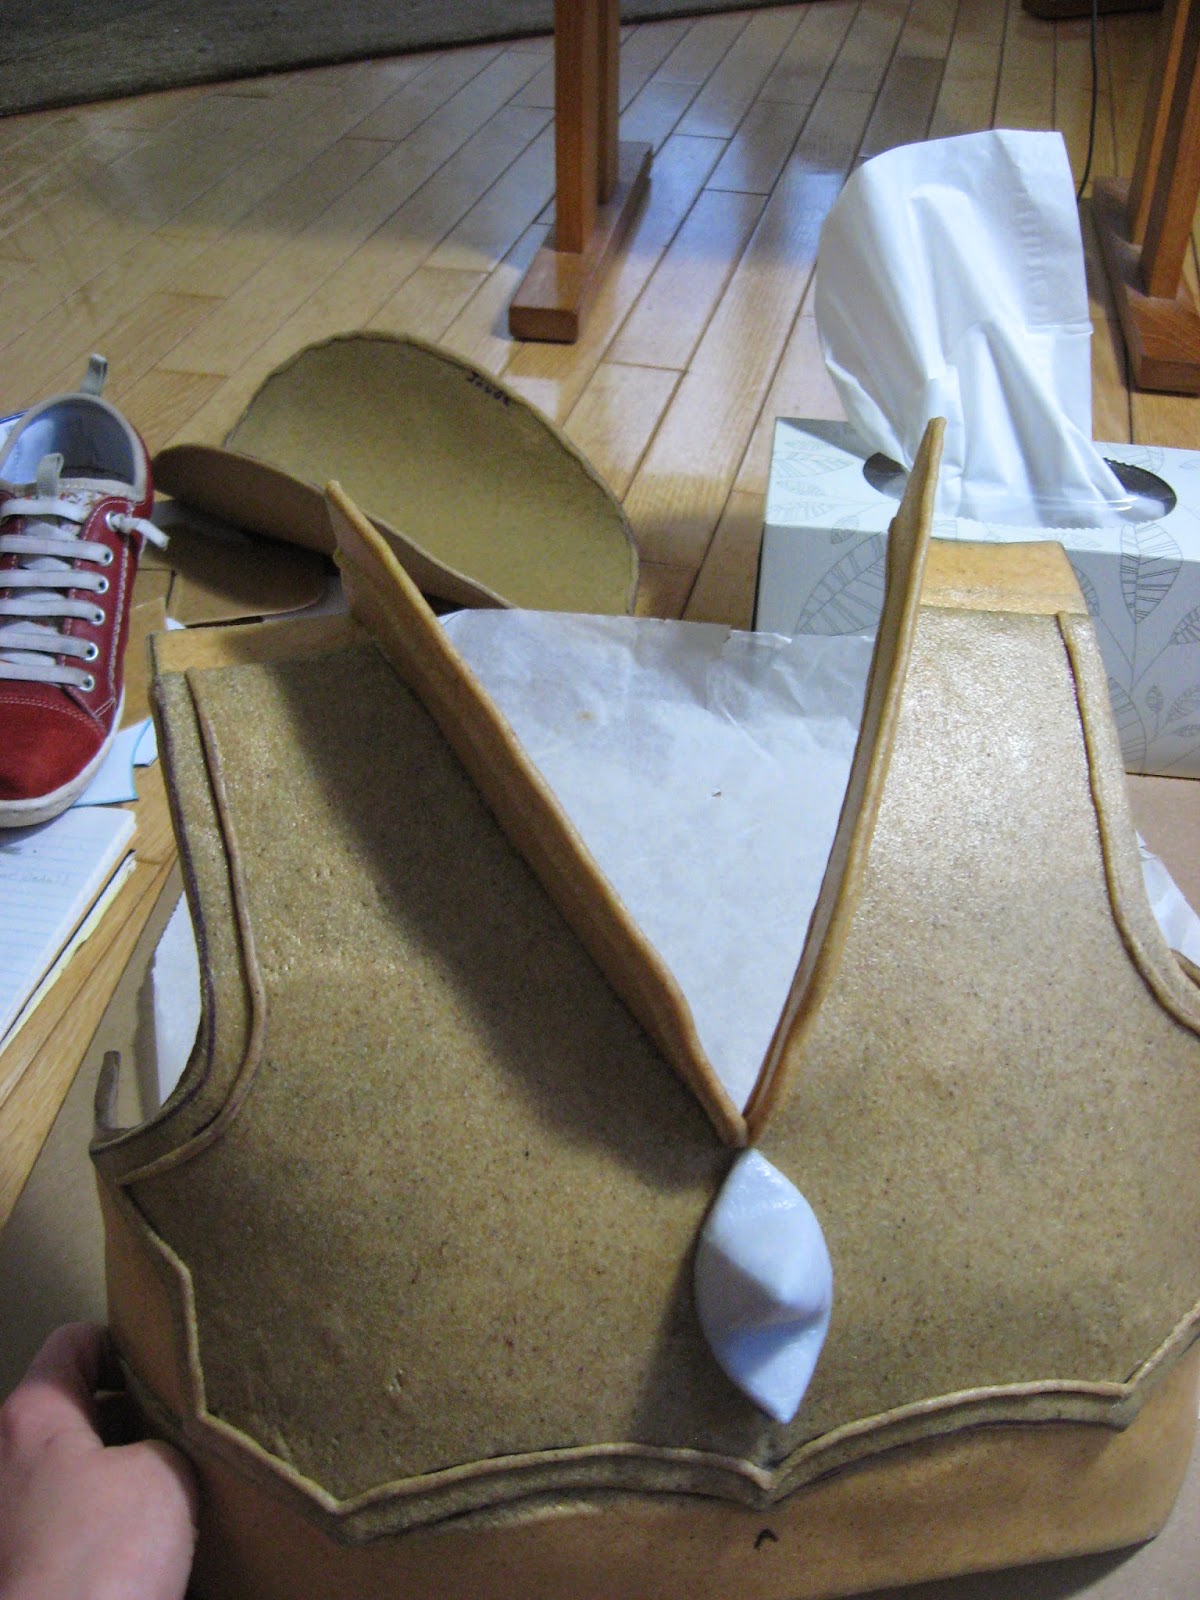
I was running up to my deadline for it to be done and didn't want to make 2 balloon molds. Plus I wasn't sure I could get them to be the same size and shape so before I started covering it in worbla, I covered it in saran wrap so the worbla would not stick to the mold. I then drew on the (basic) shape of my shoulder armor.

Then once that was done, following the above mentioned tutorial, I cut out rounded pieces of the worbla and started coating my mold. Eventually I got these weird looking things below. The 1 layer however was pretty flimsy, kinda like the way an empty pop bottle feels, so I ended up doing a second layer inside as well.

After I got the shape I wanted, it was time for the edge of the armor to be attached and to make the spikes.
I made the basic spike shapes from worbla and craft foam. I'd like to take this moment to thank first season Digimon Adventure, without it, I would have gone mad by this point. (aka, hint: to make the VERY long process of armor making less tedious, find a show to marathon while you work).

This is the basic shape I drew out for the base of the spikes, to help me male the other parts later.

Again with the tracing paper, etch out the shape of your worbla.

Then fix up that rough shape with a sharpie.

Then repeat the process for the other two shapes of the spikes.

I used wonderflex for the spikes. It has a weave in it like duct tape, which makes it easier to work with and it stretches, which worbla does not.

After a lot of shaping, pinching, cutting, shaping and more pinching I got a shape I liked.

No comments:
Post a Comment