Sailor collars, they all have stripes and there are so many ways to attach them.
You can sew them down by hand or by machine. I sewed the Soutache braid stripes on this collar by machine. If it is wobbly it is because this is one of my first cosplays from 2005.
 |
| The stripes on my Escaflowne movie Hitomi cosplay (one of my first!) sewn down by machine. |
You can glue them down, which works great with vinyl! just make sure to clean up your edges and don't use too much, (I used too much here because this was maybe my second or third ever cosplay!) Glue
can be messy and sometimes hard to get off, plus over time the glue may dry over time and start to peel away, but if that happens, just re-glue it.
can be messy and sometimes hard to get off, plus over time the glue may dry over time and start to peel away, but if that happens, just re-glue it.
 |
| The details on my PGSM Dark Merucry collar, done with glue. (Probably my 3rd cosplay ever) |
Over time I found that best product to attach the trim is Steam-a-Seam or Heat-n-Bond. I prefer Steam a Seam, but both would work. Both can be found at fabric stores or online. Heatn' Bond is sold by the meter and Steam-a-Seam is by the meter, in sheets and in rolls. I used to cut the strips to size for my ribbon details from the sheets or from a meter, but I found thought I'd try this beauty this time:


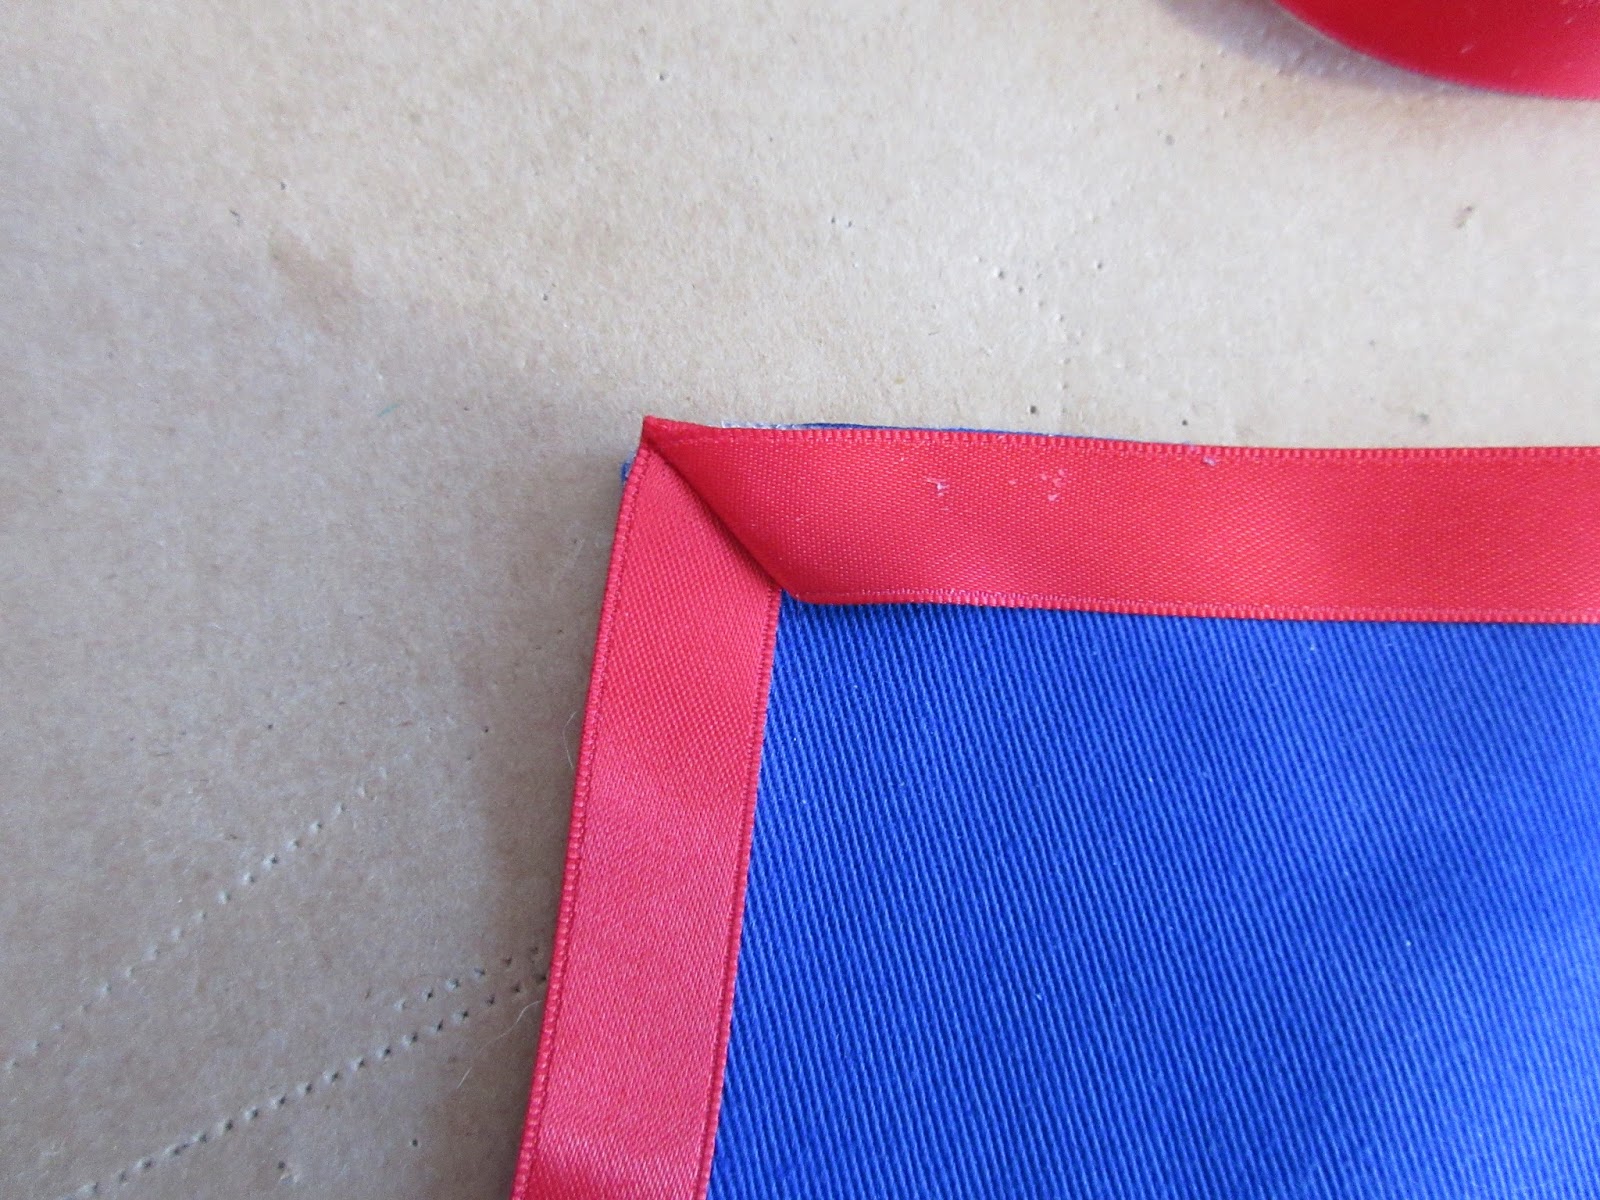
Finally I ironed my ribbon down, and here is the finished product!

No comments:
Post a Comment