With the exception of the green banding on the arms, (which will be done once I cut out the green top of the costume to make sure I have enough fabric) Cheshire's undershirt is done!
Yeah, that green banding.
 |
| Ouch? |
Here are the basic pieces, front back, sleeve and collar. Of course there are 2 sleeves, but my board is only so big.

I did things a bit different this time. I've been losing my marks and seam lines due to rubbing of fabric (chalk lines) or ironing (tailors wax) and seeing as she has so much detail on her arms and chest, I actually tailor tacked/basted my marks and designs before I sewed it together. This one is for the center front of her shirt.

I'm not sure the point of these lines on the chest, my guess from an anatomy point of view, is to give the illusion of a collar bone? But whatever....
 |
| I must be getting tired, cause I swear this image just blinked. D: |

Tailor tacks are something I learned in tailoring, you just run a few basted stitches in an obvious colour where your notches are to make sure they don't rub off or iron off (depending on what thing you use to mark the pattern on the fabric). Once you are done sewing the garment, you just pick them out with a stitch ripper.

The shirt is all together and awaits the silver/gray lines.

A few hours of hand stitching later with the TV on to keep me sane, we have a shirt!
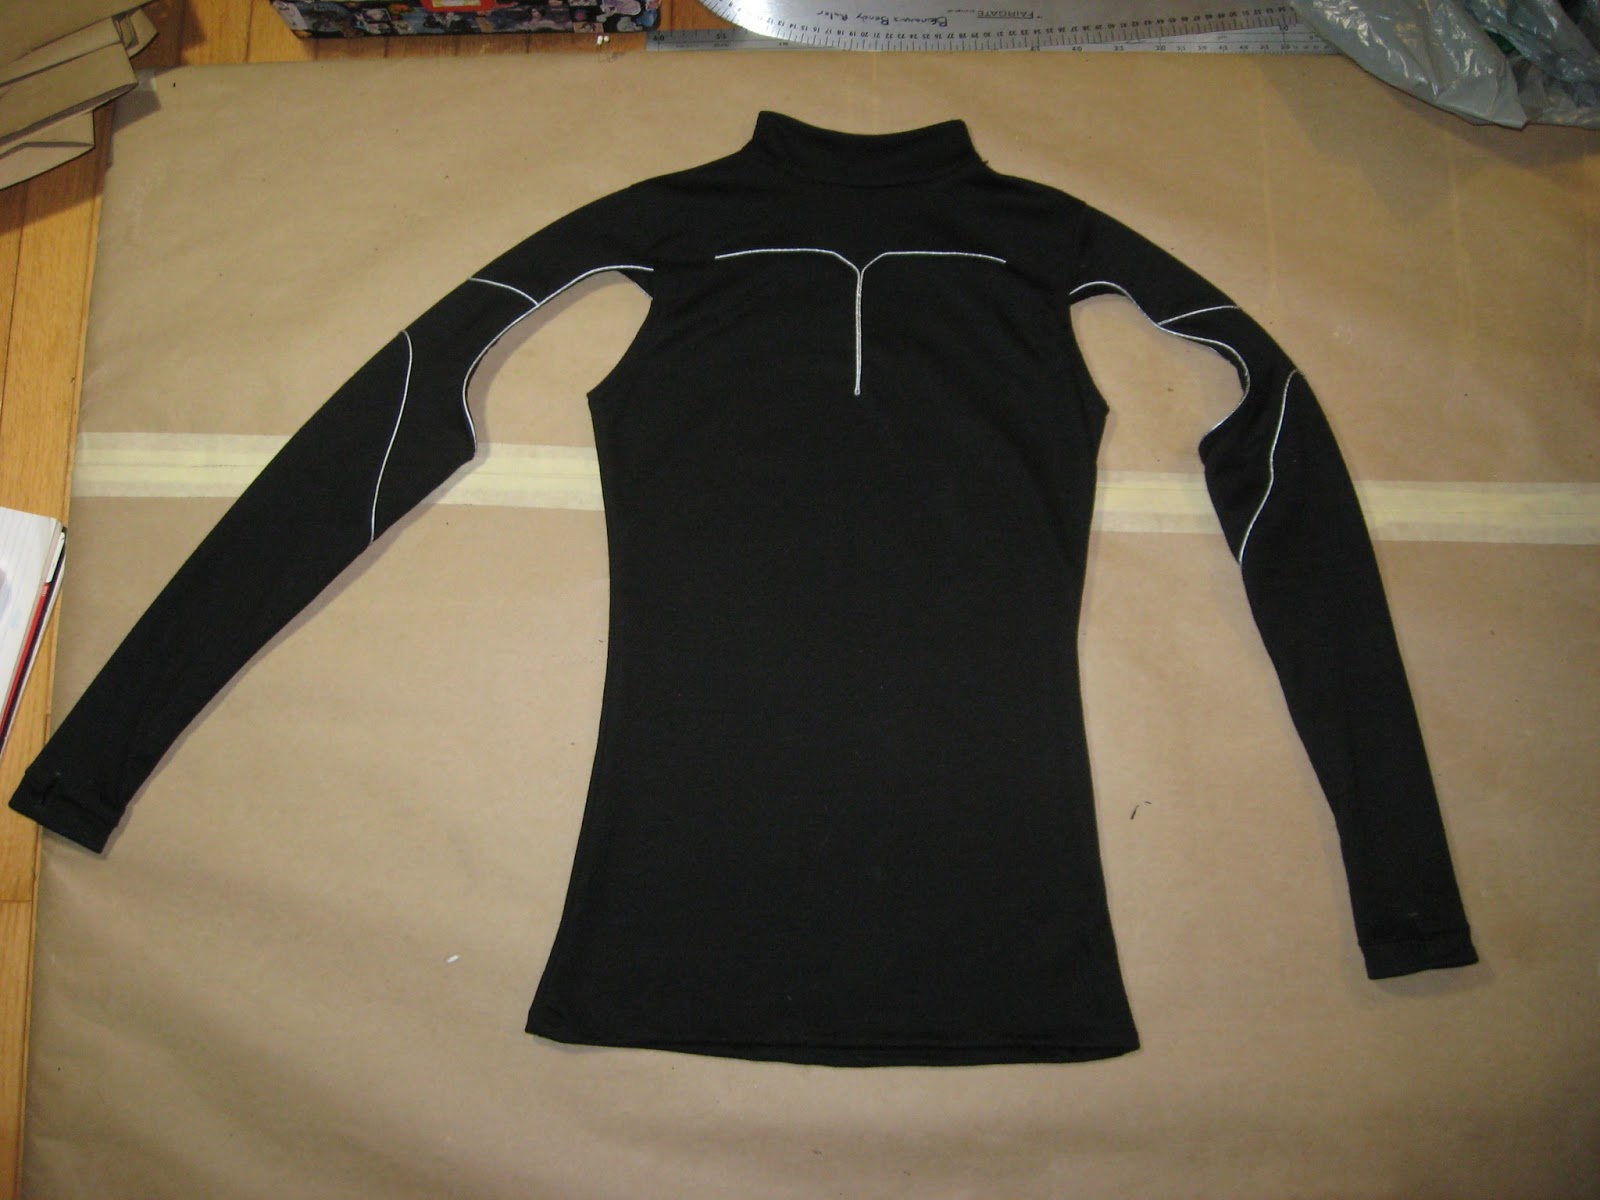
I stitched all the cord on with invisible thread, which is a wonderful product, if a bit maddening when trying to find the thread to snip with your scissors. (Its like very, very, very fine fishing line. And in poor light, near impossible to see!)
Now I am going to sleep. Tomorrow I make the green kimono style top!
No comments:
Post a Comment